
AN ARCHITECT’S PAINTING GUIDE
Painting doesn’t have to be uncertain, costly and time-consuming. It can be fun! And planning for it can save time and money, produce results that are lasting and rewarding. Generally painting is done to Paint is used to protect, preserve, decorate or add functionality to an object or surface by covering it with a pigmented coating.
In a building there are three basic elements – walls, metal and wooden surfaces, which need to be painted, since wall surfaces chip and crack, metals rust and corrode, while wooden furniture and doors get warped and scratched.
Paints have specific properties that prevent, or at least delay this as they form a protective layer around the substrate, keeping it relatively safe. Since walls are different from metals, which in turn have properties dissimilar to wood, each surface requires a different type of paint. Today, different paints have been developed, specific to each category. As an Architect, I have described how you can paint by yourself if you choose to do so. The important thing is to organise and prepare before starting the work.
Planning
Repair work
Selecting the right paint
Selecting the right painter
Buying for painting
Selecting the right brush and rollers
Painting process
Precautions to be taken during painting
PLANNING:

- Identify the areas to be painted- (exterior and interior walls, ceilings, doors, windows), including, metal grills, wooden furniture etc. Evaluate and take stock of all the requirements.
- Get to know about paints, primers, thinners- Painting involves a system comprising of at least two components, a paint and a primer, and sometimes a third, a thinner. Primers and thinners are available in both water and solvent based versions. With water-based paints, water is the thinning agent. For solvent-based paints, you need to use the recommended thinner. For more information on Paints, go to, Architect explains Paints.
- Get to know the right procedure – To prepare surfaces for painting and to get the best, most durable finish.
- Plan the disposal of your house for painting – So that there is enough free space at a time to cycle the three stages of Painting namely-Surface preparation, priming, painting and intervening drying time.
- Avoid painting in humid climate or rainy season– Because in these conditions paint takes longer time to dry and the film does not cure properly, so planning for painting should be such that these factors are taken care of.
REPAIR WORK:
- See if any repair is needed before painting– For e.g. If there is any leakage in any of the walls then the leakage should be treated at the source. Any Plastering, repairing and waterproofing should be done before painting. It is worthwhile to know about the Common Paint defects and their remedies before you commence the Painting.
SELECTING THE RIGHT PAINT:
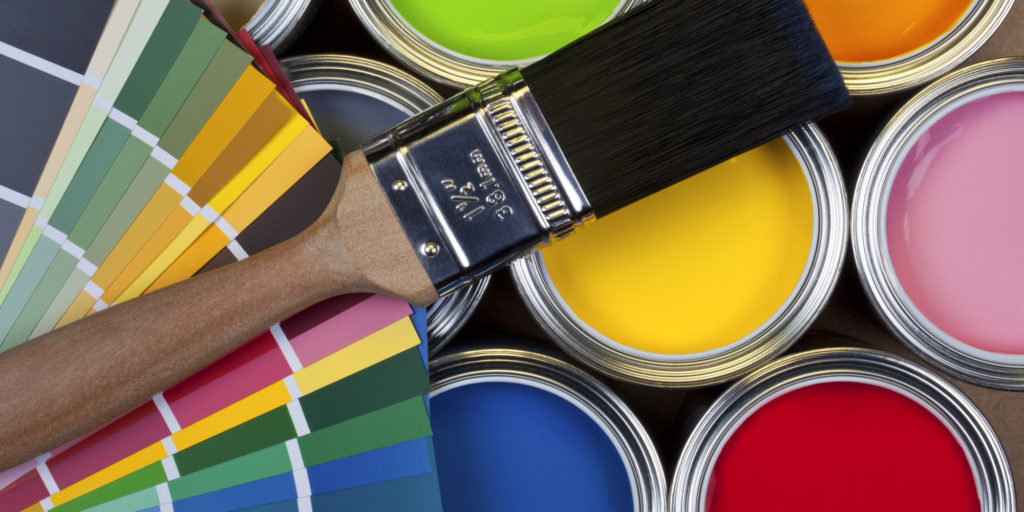
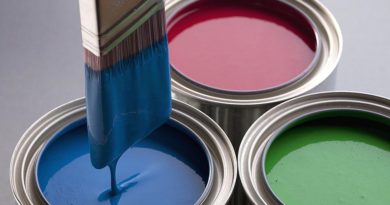
After you have carefully planned your painting process, it is very important to select the right brand and right shade.
- Selecting the right paint brand and the right shade- Today most paint companies have tools to help you choose the right colour, shade and visualise your house with the shades that you have selected. To help you choose the best colours for your building, go to, Choosing the right colour or The Effects of Colours.
- Estimate the quantity of paint – that you will require with the help of the tools available at the Paint store.
- Locate a store nearest to you – You can then confirm the availability of the brand and shade that you have decided to use.
SELECTING THE RIGHT PAINTER
Selecting a right painter is very important for the final look of your home. A good painter can add that extra edge to the look of your home.
- Consult friends for references -Friends who have carried out painting exercise recently can give you reference of good painters. Otherwise you can also ask the dealer nearest to you to suggest some painters.
- Finalize a painter only after looking at his work – Visit 2-3 places where he has painted, ask the house owners about the painter’s credibility.
- Discuss the pricing with the painter – Don’t be too tempted to go with painters who quote a price that is much lower than the average market price.
BUYING FOR PAINTING
- Test a small swatch of paint on the wall – Once you have made up your mind on a product and shade, go to the selected dealer and before buying the product, insist on testing for finish and shade.
- Avoid mixing paints yourself – This may cause a patchy and an inconsistent finish. If, at all you mix paints, add a stainer before diluting.
- Buy paint from an authorized paint store – and one which can supply additional quantity of the shade that you have selected, if required.
- Buy only good quality primers, thinners – for a neat finish.
- Buy economical bulk packs – For e.g. If you need 5Lt of Paint, buy a 4 Lt pack and a 1Lt pack, instead of five 1 Lt packs.
SELECTING THE RIGHT BRUSH AND ROLLERS
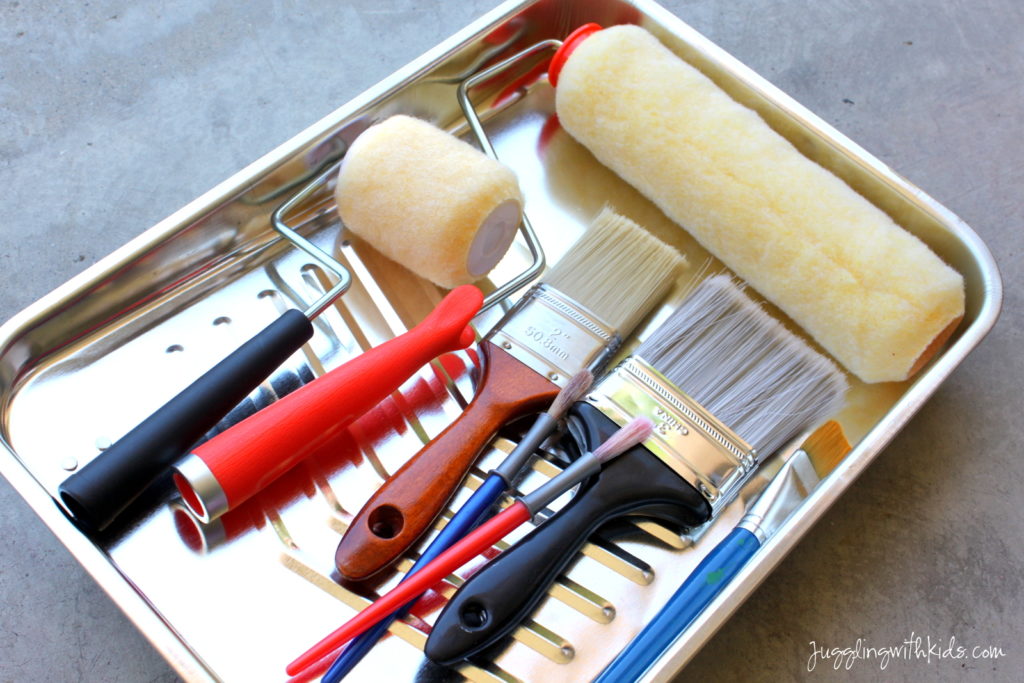
Choosing a right brush is always very important to get the kind of finish one is expecting.
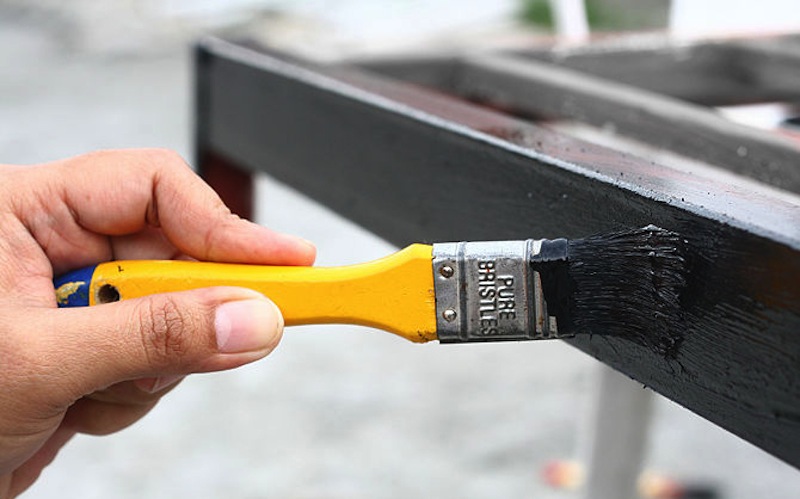
- Brushes – Brushing is the oldest method of application having versatility under unlimited variable conditions and situations. It is still the best method to paint large complex objects. Brushing helps to assist in the penetration of the paint.
- Look at the bristles of the brush – Best quality brushes are made of hog bristles. The important features of these bristles are that they taper from the roof to the tip where it is split into two or more fine strands known as flag, which enables a high degree of finish. (In cheaper brushes a proportion of other animal hair or vegetable fibers are used).
- Brushes made of nylon bristles –These are superior to pure bristles in their resistance to wear, but are smooth and non-absorbent. Hence they carry less paint which tends to run off from the brush.
- Select a brush of suitable size- Using a small brush on a large area makes it difficult to apply an even coating and slows down the rate of working; while using a large brush on a narrow area makes accurate “cutting in” impossible.
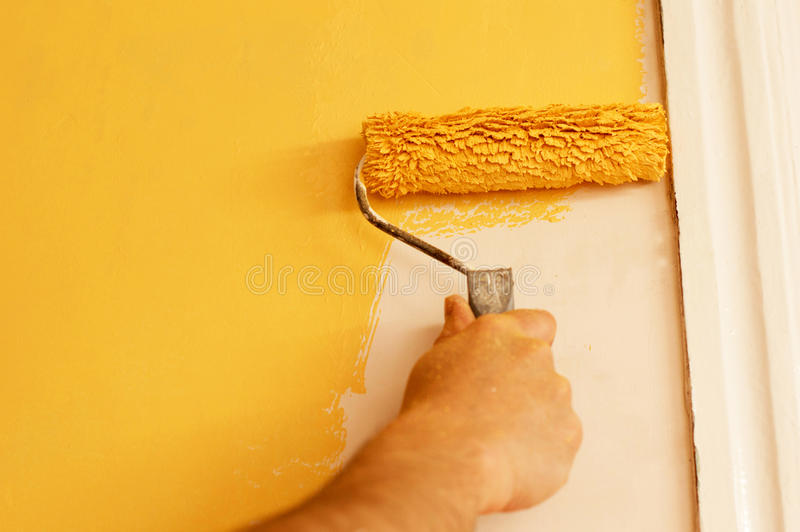
- Rollers – Hand rolling is done mainly for decorative and maintenance paintings. Roller coating application is of particular value on broad plain surfaces. The covering material for the roller may be a plastic sponge. When equipped with a long handle extension, roller may be used for floor painting and work which is otherwise inaccessible.
PAINTING PROCESS:
A paint job is basically a 3-stage process, punctuated by drying time after each stage :
- Surface Preparation – which is different for new and unpainted surfaces and previously painted surfaces.
- Priming – this stage is mainly protective in nature and critical for the enduring performance of paint systems.
- Paint Application – the final stage when the finishing coats are applied.
1. SURFACE PREPARATION:
- Interior wall painted for the first time – Allow it to mature for a period of at least 3 months (preferably 6 months) after application of a coat of lime-wash to ensure thorough drying of plaster. Then remove loose particles or flakes and ensure that the surface is free from dust, dirt, grease etc., by using appropriate sandpaper.
- Repainting of wall –If the previous coating was of lime-wash or powdered distemper, scrape it off thoroughly. If it was oil-based paint and is in good condition, remove the gloss by sanding.
- Painting of wood– Ensure that the surface is free from all loose dust and sand it along the grains with Emery Paper.
- Painting metal – Metal surfaces must be dry and free from rust, grease, oil, etc.
2. PRIMING:
- First primer coat – It is applied to provide adhesion between the paint film and the surface. It smoothens the surface, makes it less absorbent and increases the spreading capacity of the paint. Different primers are available for walls, wood, metals, etc.
- Application of putty – This is done to fill minor cracks and surface imperfections. But major cracks and dents must be first repaired with a cement-sand mix or Plaster of Paris. Drying time for putty is 5-6 hours.
- Second primer coat – This is applied to sandwich putty between two primer coats, since painting directly on putty leads to a patchy appearance.
3. FINISHED COAT:
- Two coats are generally recommended- Generally 2 coats must be applied to get the desired finish and colour. Each coat must be completely dry before the next one is applied. Drying times for different paints vary due to their composition. For some of the paints, it is recommended to sand down the first coat before applying the second one.
PRECAUTIONS TO BE TAKEN DURING PAINTING:
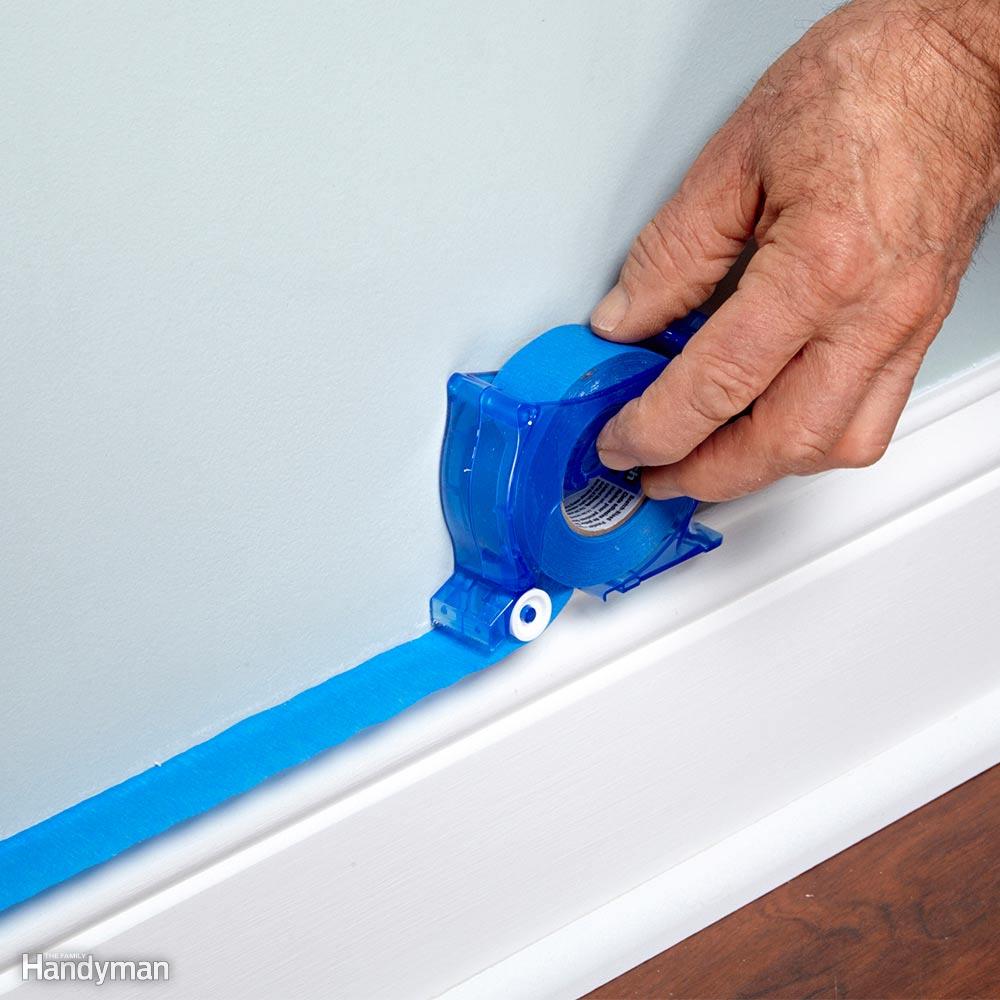
- When spraying paint, mask the surfaces around the area to be painted– Mask other surfaces around the area with sheets of paper or plastic to protect them.
- Stir and strain the paints – thoroughly before application. The paint should also be thinned properly (as per instructions given on paint container) to ensure adequate application viscosity.
- Ensure the painting area is well ventilated – and free from foreign particles and dust.
- Cover all your furniture and valuables with cloth – To guard against any possible damage due to spillage of paint.
- Keep children away from paints – as they are highly inflammable, volatile and irritate the nasal and throat lining.
- Avoid smoking- while painting is going on.
- Protect skin from paint and solvents – The person supervising the painting process shouldprotect his skin well. In case of any spillage on the skin, wash with warm soap water. If the paint still does not go then remove it with the solvent used for thinning the paint. After this apply a good body lotion in the affected area.
- Do not hurry up the painting process – because the first paint coat should be dried properly before applying the 2nd coat. Allow enough drying time before applying a new coat.
- Protect the window glass – To guarantee a neat edge around window panes, protect the glass with a paint-sheild or apply masking tape before painting. Remove it before the final coat is dry to avoid peeling a layer of paint. Always allow the paint to overlap slightly on the glass to prevent moisture from seeping into the joint between putty and glass.
While painting, you may be faced with some defects or problems. Read about the common defects and their remedies here:
Related Topics:
- Paint Types
- Paint Glossary
- Paint Colours
- Paint Colour Wheel
- Paint Colour Groups
- Paint Colour Themes
- Paint Effects of Colours
- An Architect’s Painting Guide
- Maintenance Of Painted Surfaces
- Common defects and remedies in painting
- Best Paint Brands In India
If you found this post useful, all it takes is a simple click on the “pin it” “like,” “share,” “tweet,” or Google+ buttons below the post.

Superb. I like your content and it makes sense. My concrete driveway needs to be repaired, so I’ve been looking for a contractor to help me out. I also want my house to be as creative as possible, so I think some painting colors and textures added to our driveway would be a great addition! We have a limited budget but i think they can balance what we want and what they can afford. I also appreciate this post of yours. This is a good tips to follow for a
concrete flatwork contractor now. Keep up the good work.
Good points you got in here. Thanks for the share. Hiring the right contractor would be the way to go in the future! I have read it in walthampaintingcompany blog that it is often to search and look for an online reviews as the best sources to find a good painter for our house, but thanks we got your content and your website now! I pinned this for the next time we paint. Keep posting. Good luck!
My personal oinipon is that bedrooms, bathrooms, office, dens basements can all be painted different colors since they usually all have different themes anyways. But if rooms don’t have defined separate spaces (my kitchen, eat in area, family room and foyer has an open floor plan), then paint it all the same color. But it doesn’t have to be neutral. For example in my house:Office: Greyish purple1/2 bath: YellowMaster bedroom: Sage greenMaster bathroom: Sage green brown2nd bedroom: Purple (daughter)3rd bedroom: Pink (daughter)4th bedroom: Blue (son)Kids bathroom: YellowKitchen/family room/foyer: Chocolate brown TaupeLiving room/Dining room: Taupe
Very infomative and through article. Keep up the good work.